 Convert
How Can You Resize an Image Without Stretching or Squashing It?
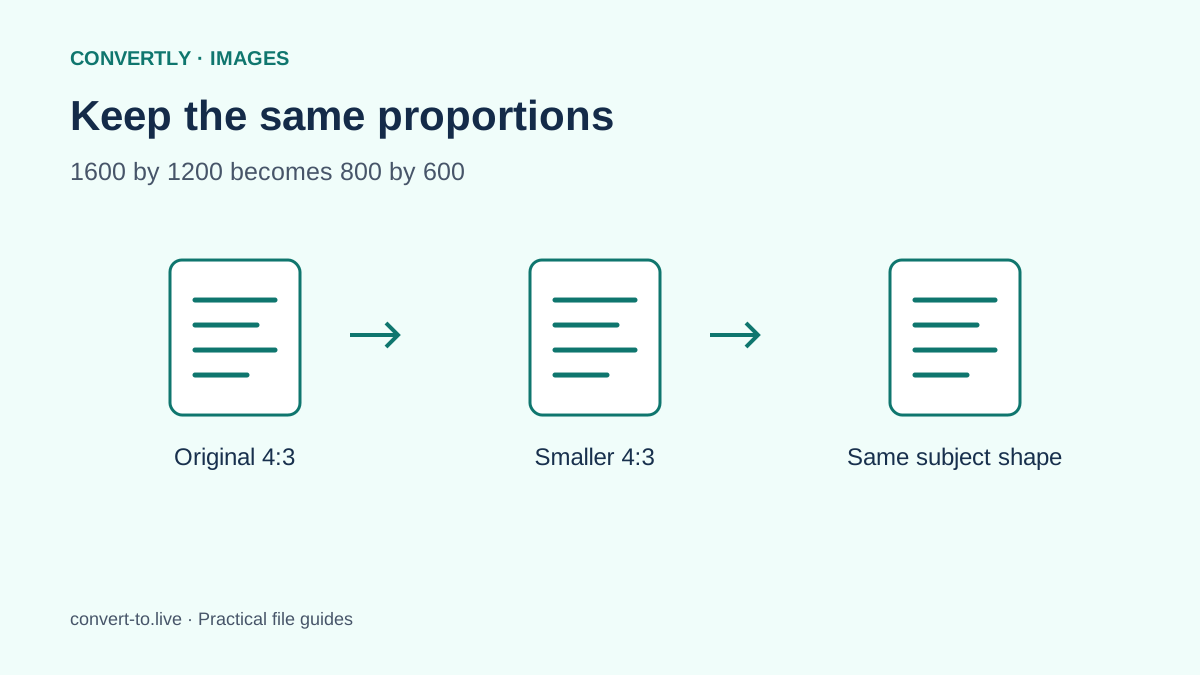
To resize an image without stretching it, keep its width and height in the same proportion. Change one dimension and calculate the other from the original aspect ratio. If you need a different shape, crop the picture or add a border instead of forcing it into mismatched dimensions.
That distinction matters for profile pictures, product photos and upload forms. A face should not become wider just because a destination requests a square image. This guide shows a practical proportional resize in Convertly and explains when you need a different editing step.
Understand the original shape
Aspect ratio describes the relationship between width and height. A 1600 by 1200 image has a ratio of four to three. Resizing it to 800 by 600 keeps that relationship, so objects retain their proportions. Changing it to 800 by 800 would instead force a rectangular picture into a square.
Before editing, write down the original dimensions and the destination requirements. A request for a maximum width is different from a request for an exact square. Knowing which one applies saves you from adjusting the wrong setting and wondering why the upload still fails.
Use a simple dimension calculation
For proportional resizing, new height equals original height multiplied by new width, divided by original width. A 3000 by 2000 photograph reduced to 1500 pixels wide therefore becomes 1000 pixels high. Round to a whole pixel when the result is not an integer.
You normally do not need to perform the calculation manually inside Convertly. Its maximum width setting derives the height from the original image. The calculation is still useful for planning: it tells you whether a width change will meet both dimensions requested by a form before you export anything.
Resize the image in Convertly
Choose Resize Image from Convertly's tools and add a supported picture. Open Advanced settings if needed, then enter your desired maximum width. Choose an output format in the file row. Use JPG for an appropriate photographic export, or PNG when that is required by your destination or suitable for the artwork.
Convert the file and save the downloaded result. The maximum width is a ceiling, not a command to stretch a small picture. If your original is narrower than the value you entered, Convertly keeps that smaller width. It also preserves the original proportions rather than asking you to type an unrelated height.
What if you need an exact square?
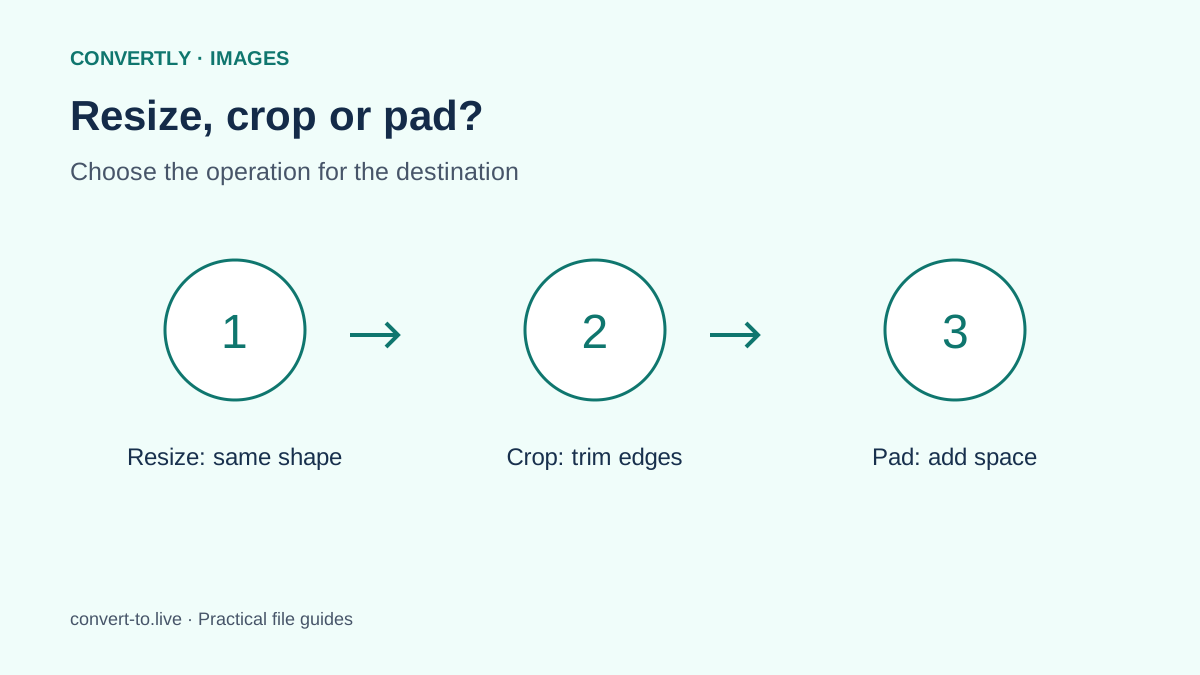
A proportional resize does not change a rectangle into a square. For that task, decide which content can be removed or where extra space can be added. Cropping fills the target shape by trimming edges; padding keeps the full picture and adds surrounding space.
Convertly's current Resize Image tool is a proportional width resizer, not a crop or canvas editor. Prepare the square in a suitable editor first, then use Convertly if you need a smaller export. For a portrait, check that cropping does not remove hair, hands or another important part of the subject.
Avoid enlarging a small source
More pixels do not automatically mean more real detail. Enlarging a small picture requires the software to estimate additional pixels. The result may appear softer, especially around text, eyelashes or thin lines. A larger number in the file information panel is not proof of a better original.
When a form requires dimensions larger than your source, look for the full-resolution photo or original artwork. If that is unavailable, check whether the destination offers an alternative. Do not stretch a thumbnail merely to satisfy a number without reviewing the visible result at the size people will actually see.
Separate pixel dimensions from file size
A picture can have the correct dimensions and still exceed a file size limit. Conversely, a tiny file can be too narrow for an upload requirement. Treat dimensions and bytes as two separate checks. Start with the required shape and dimensions, then choose an appropriate format and compression setting.
For a photograph, a JPG export with a sensible quality setting can be more compact than PNG. For sharp interface text, PNG may preserve edges more cleanly. Compare the actual exported versions instead of assuming one format is always best. Keep each experiment tied to the same original so your comparisons remain meaningful.
Review common visual problems
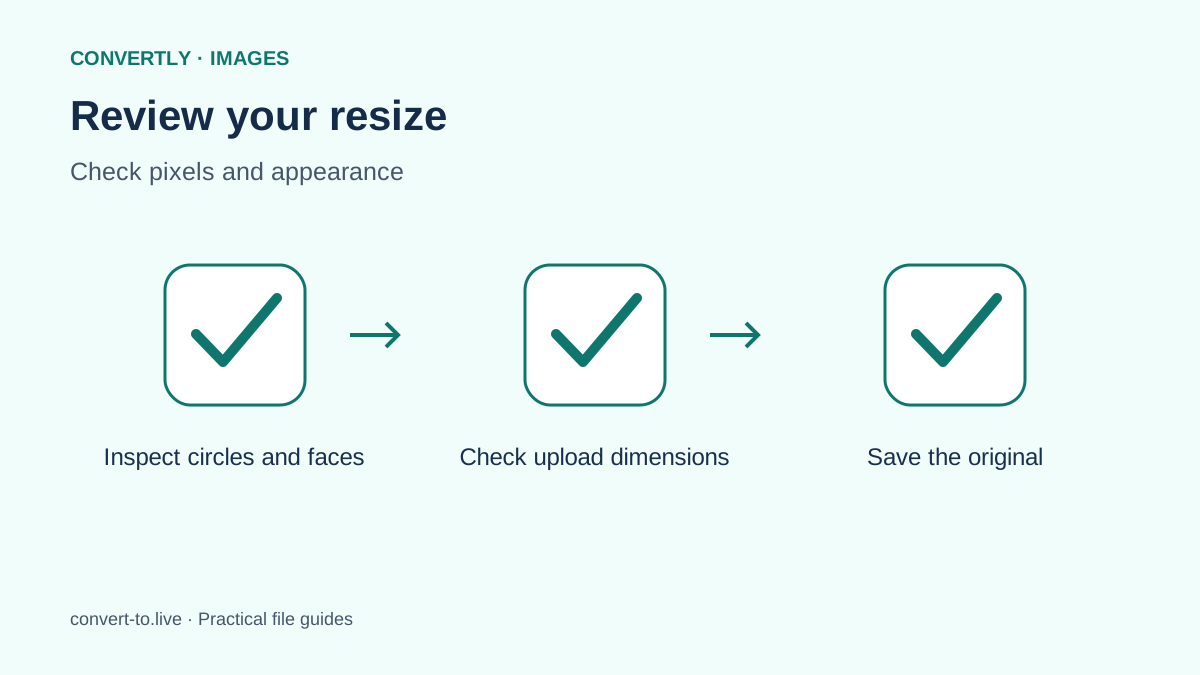
After downloading, view the resized file at one hundred percent and at its intended display size. Look at circular objects, faces and lettering. A circle becoming an oval is an obvious warning that some later step changed the proportions, even if your own export was correct.
If the image looks stretched only on a website, the website's display dimensions may be the cause. Compare the local file with the upload preview. A correct image can be displayed inside an incorrectly sized box. Give the destination operator the actual dimensions and a clear example rather than repeatedly re-exporting an already correct file.
Plan a consistent batch
For a set of product images, prepare a common shape before resizing. Otherwise, equal maximum widths can produce different heights because each original has a different ratio. Consistent width is useful, but it does not guarantee an identical layout across a gallery.
Convertly accepts up to twenty files in a batch with a maximum of one hundred megabytes per file, subject to browser resources. Smaller batches are easier to review on a phone. Name the exports clearly, download them and confirm the count before closing the tab. Save source files elsewhere so a browser refresh cannot erase your only working copy.
Common questions
Does resizing remove the background?
No. Resizing changes pixel dimensions. It does not select a subject or delete background content. Background removal is a separate operation, just as cropping is a separate decision about which edges to keep.
Why did the height change automatically?
That is expected during a proportional resize. The height follows the source ratio, which keeps objects from being squashed. If you require an exact height as well, first check whether the source has the required shape.
Can I make a portrait fit a landscape banner?
You can crop away content, add surrounding space or redesign the layout in an editor. A proportional resize alone cannot satisfy both shapes. Choose the approach that preserves the important subject, and review the final banner before publishing it.