 Convert
How Do You Reduce an Image to Under 1 MB?
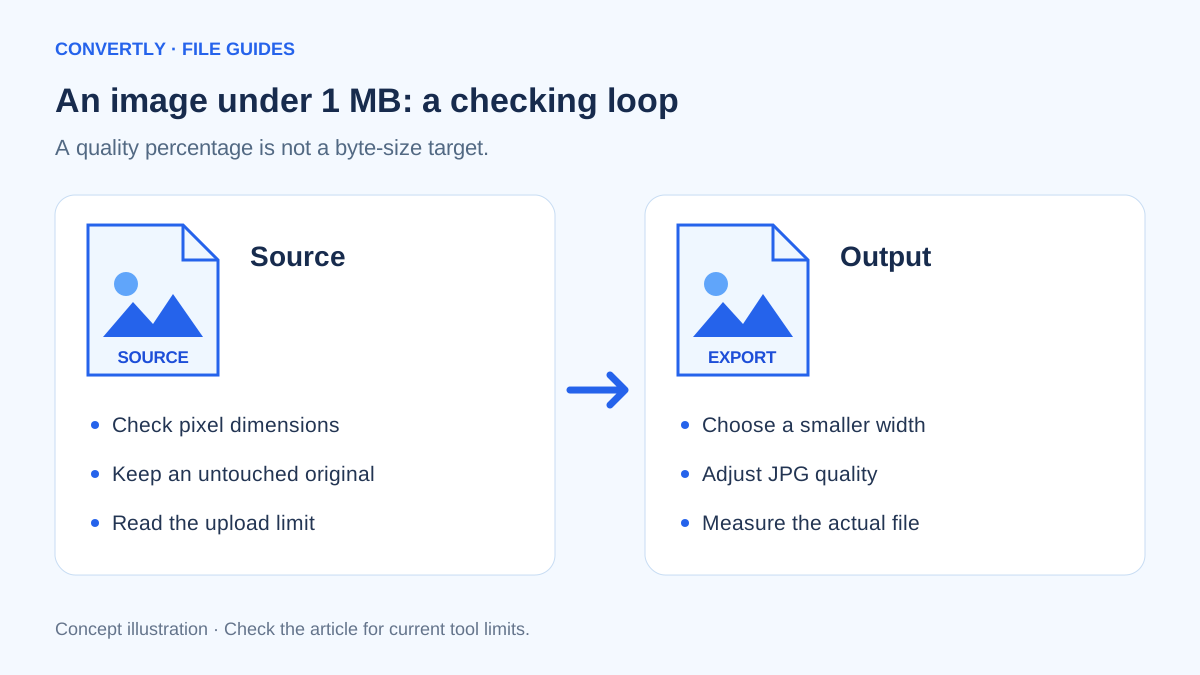
To bring an image under 1 MB, check its dimensions, choose an appropriate format and then adjust compression. There is no quality percentage that guarantees the same size for every picture. The reliable method is to export a copy, check its actual size and refine the settings if necessary.
Before editing, confirm what the receiving site means by its limit. Some systems use decimal megabytes and others use binary units. Aim comfortably below the displayed ceiling rather than leaving only a few bytes of headroom.
Start with the dimensions the destination needs
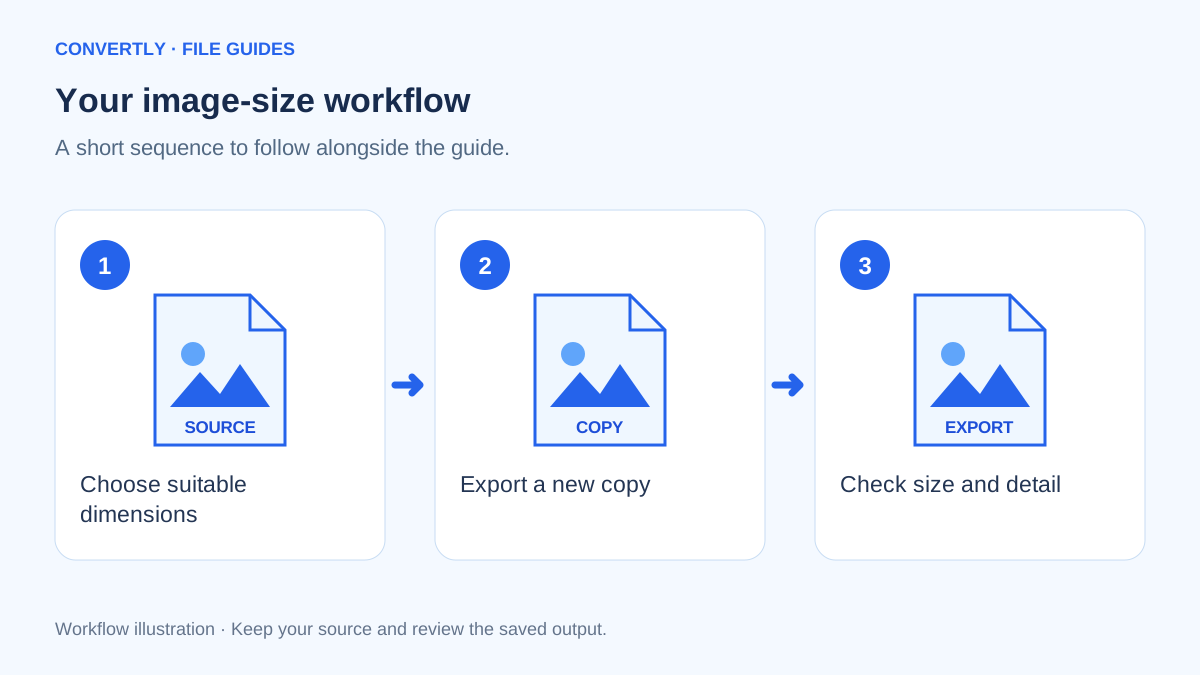
Find any minimum or maximum width in the upload instructions. A small profile picture rarely needs the full resolution of a camera photograph. However, a document-checking system may require readable text and specific dimensions, so smaller is not automatically better.
For example, reducing a 4000 × 3000 image to 1600 × 1200 cuts its pixel count from 12 million to 1.92 million. That is a pixel-count comparison, not a promise of a particular file size. Compression, metadata and image content still affect the result.
Reduce the image with Convertly
- Keep the original and add a copy to the Image Compressor or Resize Image tool.
- Choose an output format accepted by the destination. JPG is a useful option for many photographs.
- Open Advanced settings and enter a suitable Maximum width. Convertly preserves the image's aspect ratio.
- Start with Image quality at 85% for JPG output and convert.
- Check the result size shown in the queue, download it and verify the saved file in your device's file manager.
- If it is still too large, return to the original and reduce width or quality a little further. Review detail after each change.
Convertly does not currently offer an automatic “exactly 1 MB” target mode. This is a manual adjustment workflow. The input limit remains 100 MB per file.
Which adjustment should you try next?
If the picture has far more pixels than required, reduce width first. If it is already the right dimensions, test a lower JPG quality instead. If the file contains tiny writing or a diagram, inspect whether compression makes that content harder to read before lowering quality again.
PNG output needs a different expectation: changing the image-quality slider is not a reliable way to reduce a PNG through browser canvas export. Reducing dimensions, or selecting a suitable alternative format when permitted, is more useful.
Keep the information that matters
Open the result at 100% zoom and check faces, text and important edges. Do not rely solely on the preview thumbnail. A file that passes a size check but loses necessary detail may still be rejected by its recipient.
For an ID photograph or another regulated submission, follow the issuing organization's current rules. Do not guess required proportions, edit protected document content or assume a general compression tool certifies compliance.
Read the file-size number correctly
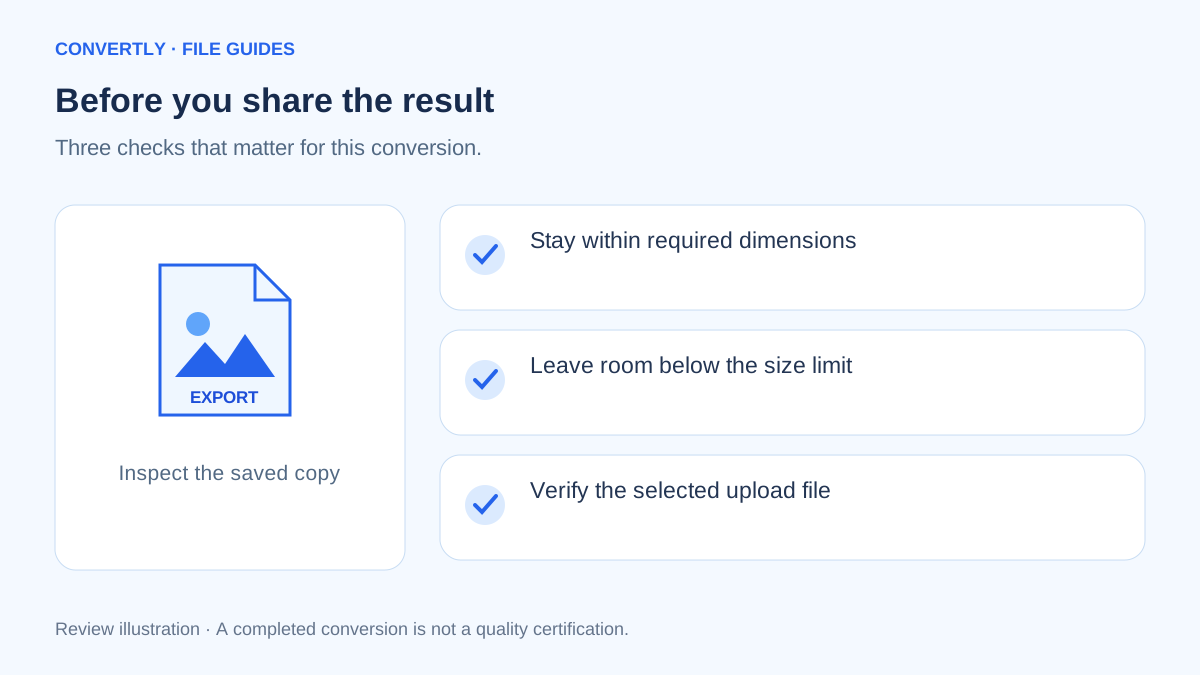
A file manager may display size rounded to one decimal place, while an upload form checks an exact byte count. A picture displayed as 1.0 MB could therefore fall on either side of a strict limit. Aim for a little margin and check the saved file's detailed properties when the destination keeps rejecting it.
Do not confuse megabytes with megapixels. Megabytes describe the stored file size; megapixels describe the number of pixels. A highly detailed photograph and a simple illustration can have the same pixel count but very different encoded sizes. That is why a fixed width does not produce one universal download size.
A practical adjustment log
Suppose a form needs a picture at least 1200 pixels wide, but your original is 4000 pixels wide. A reasonable first trial is an export at 1600 pixels wide with moderate JPG quality. These numbers are an example of a workflow, not a required preset or a measured result.
Write down the chosen width, quality and resulting size. If the output remains too large, try a slightly smaller width while respecting the minimum. If you reach that minimum, hold dimensions steady and compare a lower quality setting. This short log prevents cycling through the same unsuccessful combinations without realizing it.
Check the entire image, not just its center
A portrait may look fine in the middle while hair near the background becomes smeared. A document photograph may retain a bold heading but lose the small reference number near its edge. Inspect the details that the recipient actually needs to read, including corners and low-contrast areas.
Then compare the picture at its expected viewing size. Extreme zoom is useful for spotting artifacts, but it should not replace a realistic preview. For text-heavy images, ask whether the smallest necessary characters remain readable without guessing. If not, the output needs a different compromise or a different approved format.
Understand what Convertly does not automate
The current compressor does not crop an image, remove a background or target an exact number of bytes. It does not provide a formal print-DPI control. If a destination needs a particular crop or composition, prepare that in an editor first, then compress the prepared image.
Do not treat successful compression as proof that a document has been safely redacted. Covering text with a visual element, removing metadata and making a file smaller are separate tasks. Use an appropriate redaction workflow for sensitive information, and inspect the copy you actually intend to send.
Keep a final submission copy
When a version meets the limit, give it a distinct name and stop re-exporting it. Reopening and saving a JPG repeatedly can introduce unnecessary additional changes. Keep your settings notes with the original so you can create another size if a different recipient asks for it.
Before the final upload, check the selected filename in the form. A common mistake is to create a small copy successfully and then accidentally attach the original from a recent-files list. Verify the preview and size one last time, and keep the accepted copy for your records.
Common questions
Does a lower quality number mean that exact percentage of the original size?
No. It is an encoder quality setting, not a file-size percentage.
Can I increase a small image's width to improve detail?
Increasing dimensions cannot recreate information that was never captured. Convertly's Maximum width setting does not enlarge an image beyond its original width.
Should I replace my original?
Keep it. Save a clearly named submission copy so you can produce a different version later without reprocessing an already compressed image.