 Convert
How Do You Convert PNG to JPG Without Ruining the Image?
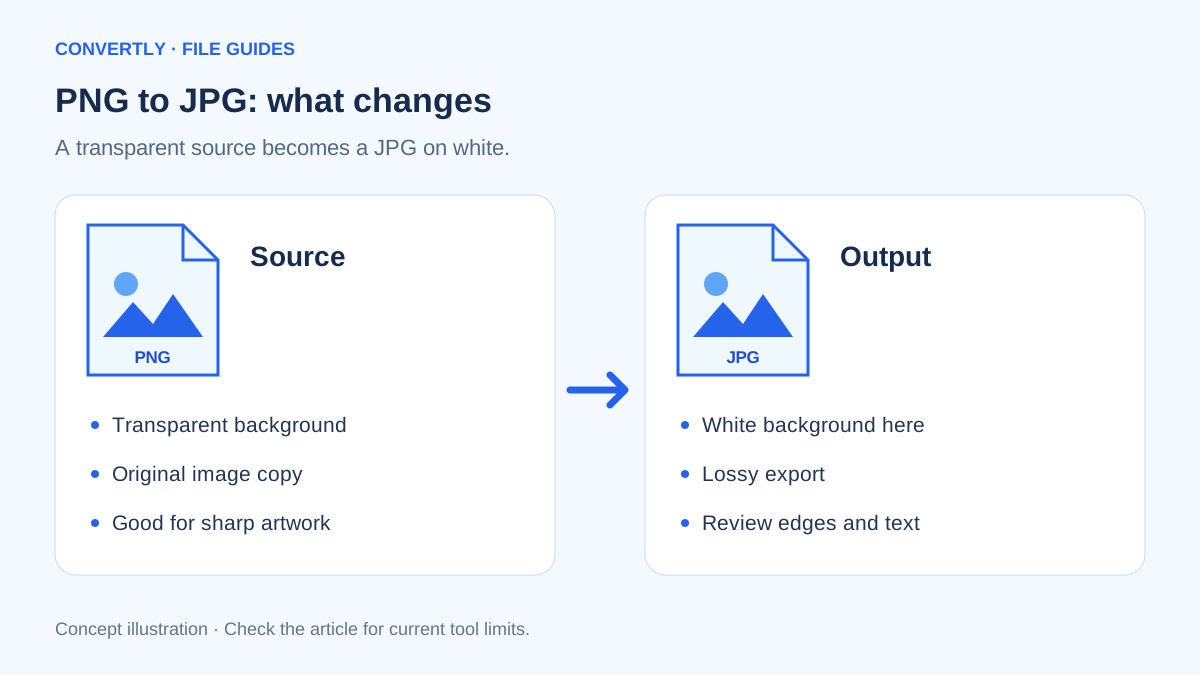
To convert a PNG to JPG, open it in an image converter, choose JPG as the output and save a new copy. The important decision is whether JPG suits the picture. A photograph and a transparent logo need different treatment, even when both arrive as PNG files.
JPG uses lossy compression. A careful export can look good, but it cannot promise a mathematically identical image. Keep the original PNG so you can change your mind later.
When does PNG to JPG make sense?
Start with the destination. A form that explicitly accepts JPG may require a conversion. A large photographic PNG is also a reasonable candidate when you need a lighter file for sharing. However, screenshots with tiny text, diagrams with sharp edges and artwork needing transparency may be better left as PNG.
Converting solely because a file looks large can create a worse result. Check whether the destination needs the image's full dimensions first. A smaller image in its original format may meet the requirement.
Convert a PNG in Convertly
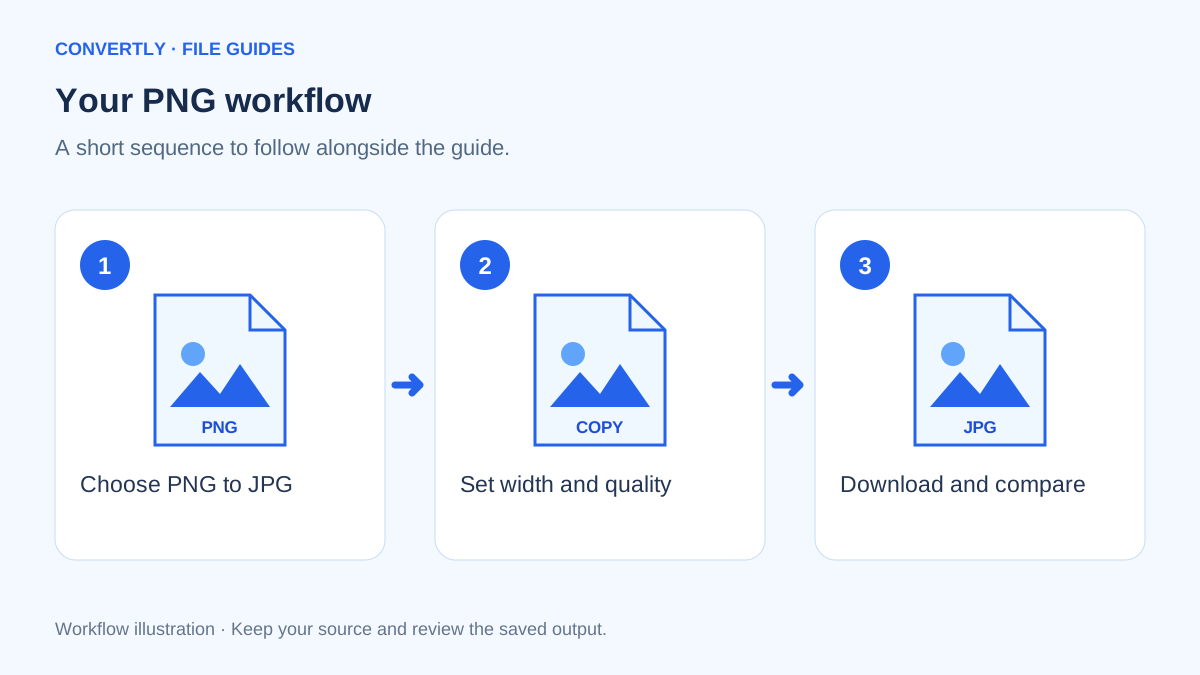
- Open the converter and select PNG to JPG from the image tools.
- Choose your PNG. Start with one image so you can review the settings before processing a batch.
- Confirm that the output dropdown says JPG.
- Open Advanced settings. Leave Maximum width blank to retain the original dimensions, or enter a smaller width if the destination allows it.
- Use the default image quality of 85% as a starting point, then select Convert files.
- Download the result and open it in an image viewer. Compare it with your original before replacing anything.
Convertly currently accepts up to 100 MB per file and 20 files per batch. The image conversion runs in your browser; there is no account requirement for this tool.
What happens to a transparent background?
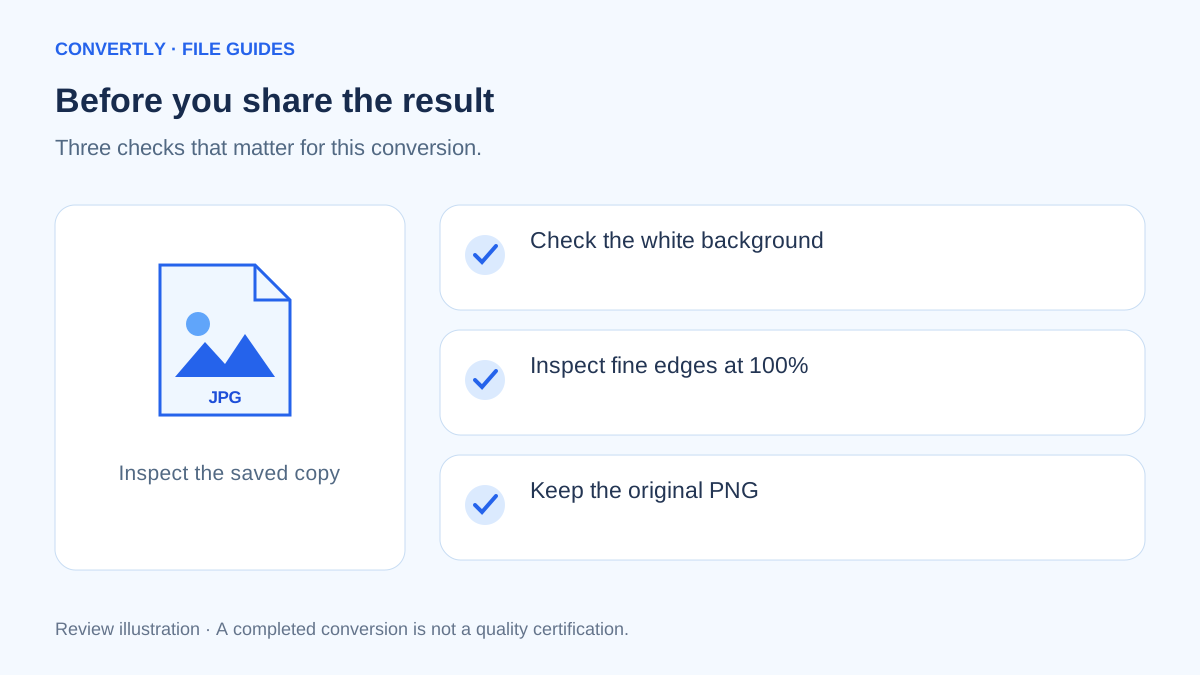
JPG cannot retain transparency. In Convertly, transparent regions are placed against white when creating JPG output. This is especially visible around logos, shadows and light-colored lettering. Preview those edges at full size. If the artwork must sit cleanly on several background colors, keep a transparent format instead.
How should you check quality?
Inspect small text, diagonal lines and transitions between light and dark areas at 100% zoom. Also view the image at its intended display size. If the export looks rough, return to the original PNG and increase quality; repeatedly converting a previous JPG is a poor way to recover detail.
A quality slider is not a guaranteed file-size control. Two equally sized images can produce different JPG sizes because their content differs. Compare the actual downloaded file rather than guessing from the percentage.
A sensible workflow for a real upload
Imagine that a supplier sends you a product photograph as a PNG, while your store accepts JPG images. First, open the picture and check whether it includes a transparent margin. Next, look up the store's required dimensions. If the picture is already correctly framed, preserve that framing rather than cropping simply to make the file lighter.
Make one export at the default quality and inspect it beside the PNG. Look at the product outline, any printed label and areas with gentle shading. If those look acceptable at the final display size, test the downloaded JPG in the store's draft uploader before processing the remaining pictures. This is a proposed checking workflow, not a report of a measured conversion result.
Separate resizing from compression
Resizing changes how many pixels describe the picture. JPG compression changes how that pixel information is encoded. They solve different problems. An image that needs to fill a wide banner may need its original width, even if you can lower its export quality slightly. A small thumbnail may instead benefit from fewer pixels at a reasonable quality setting.
Change one setting at a time so you know why an output improved or became worse. Begin with dimensions if the source is unnecessarily large. Then adjust quality while keeping that width fixed. Record a useful combination in your project notes, but check another image before treating it as a preset for a whole collection.
Watch for halos, color changes and missing information
A pale border around a cut-out object can become obvious after its transparency is flattened. View the JPG against the same white background you intend to use. If you need a colored background, prepare that background in an editor before conversion; Convertly does not currently offer a background-color picker for JPG export.
Also consider information outside the visible picture. This tool rebuilds an image through the browser canvas and does not promise to preserve camera metadata, a particular color profile or print-production settings. For a printer's specification, archive requirement or color-critical artwork, use a workflow that explicitly supports those requirements and confirm the final file with the recipient.
Build a repeatable batch check
Once a sample works, group similar files rather than mixing photographs, screenshots and logos in the same batch. The same JPG settings can affect them differently. Use filenames that make the output easy to distinguish from the source, and save the downloads into a separate folder.
After downloading, open at least one bright image, one dark image and one with fine detail. Check every file when the pictures are important. A “Done” message confirms that the converter produced output; it does not certify that the image meets a marketplace's content rules or your own quality threshold.
Finally, keep a clean master folder containing the untouched PNG files. If a recipient later requests a different size or a transparent version, those originals let you make a fresh export instead of editing the compromises of an earlier JPG.
Common questions
Can I just rename .png to .jpg?
No. Renaming changes the filename, not the encoded image. Use an export or conversion tool.
Will converting back to PNG restore lost detail?
No. A later PNG export cannot reconstruct detail removed by a previous lossy export. Start again from your original.
Why is my new JPG still large?
Check pixel dimensions and the destination's requirements. Reduce width where appropriate, convert again from the source, and inspect the new result.